How to Install a New Pantry Door Like a Pro!
Isn’t it amazing how a simple pantry door can transform the overall look of your kitchen or dining area? If you’re considering upgrading your pantry door, this comprehensive guide is here to help you master the art of door installation, specifically how to replace and install a new pantry door or interior door. From selecting the perfect door to ensuring a flawless fit, we’ll walk you through every step of the process, guaranteeing a professional result and a door that operates smoothly.
Key Takeaways
- Choose the right pantry door for your space and gather essential tools, materials and supplies.
- Measure accurately and prepare the door for installation by trimming edges, marking hinge positions & shimming correctly.
- Follow steps to install hinges, latch plate & strike plate. Troubleshoot issues if needed.
Choosing the Right Pantry Door
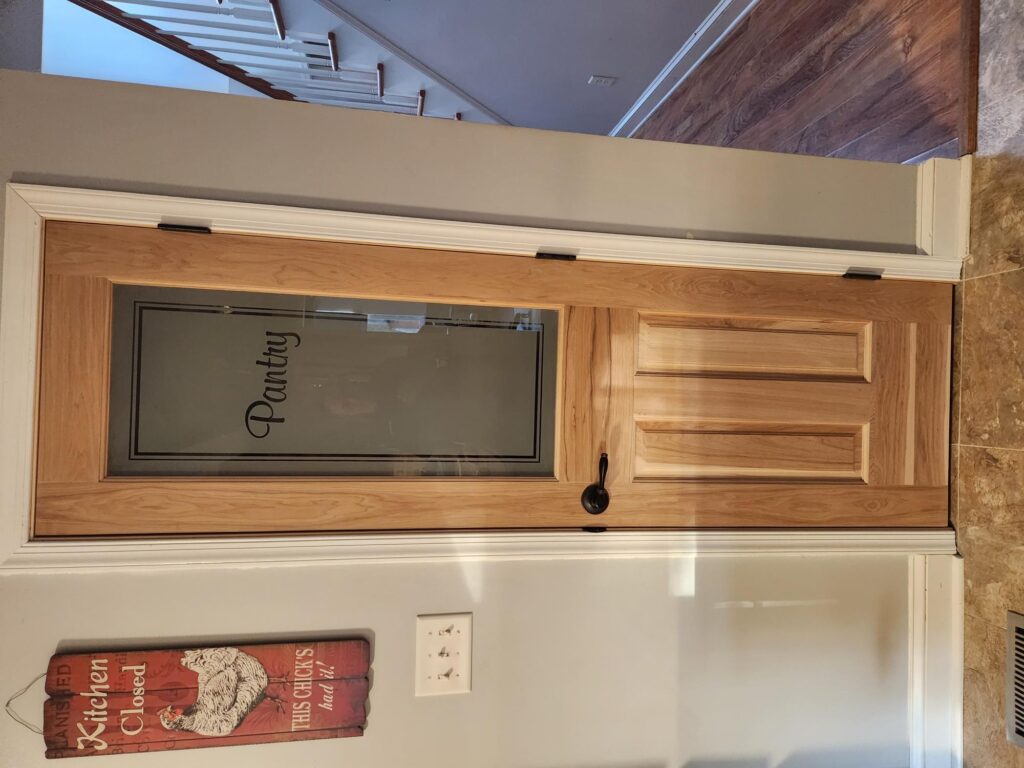
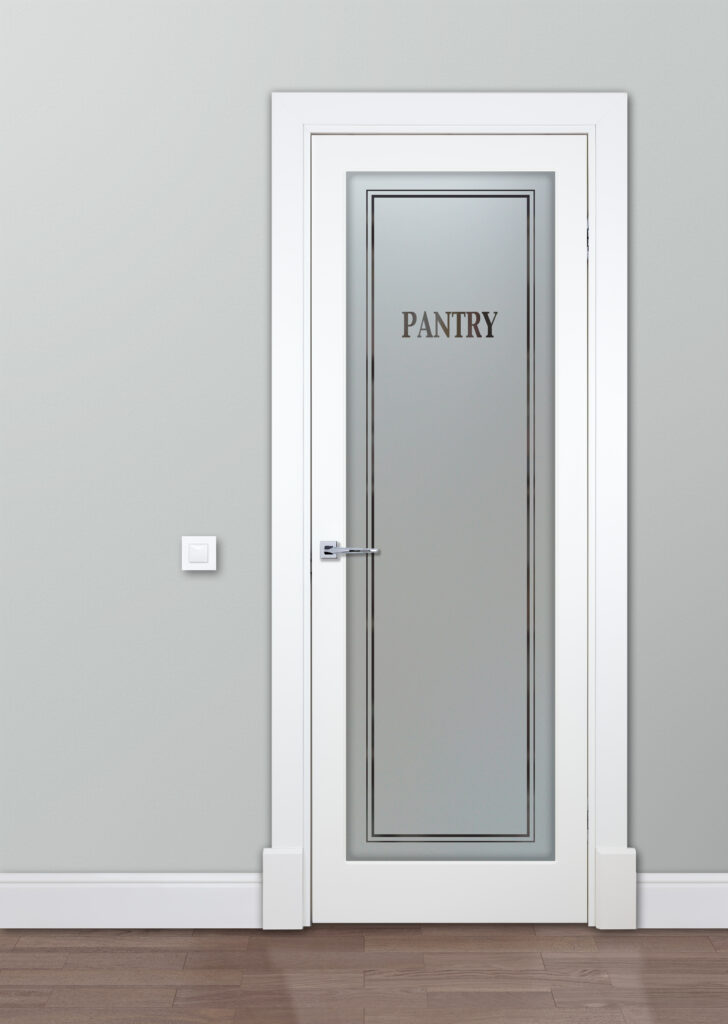
The perfect interior door for your pantry is a blend of style, material, and functionality. It should complement the overall interior of your space, enhancing the existing design and color scheme. When selecting the material for your pantry door, consider durability and maintenance needs. Common materials include wood, metal, glass, and hollow core doors. Don’t forget to think about the type of opening mechanism that best suits your needs, such as sliding, bi-fold, or hinged doors.
Different Types of Pantry Doors:
- Swinging or Hinged
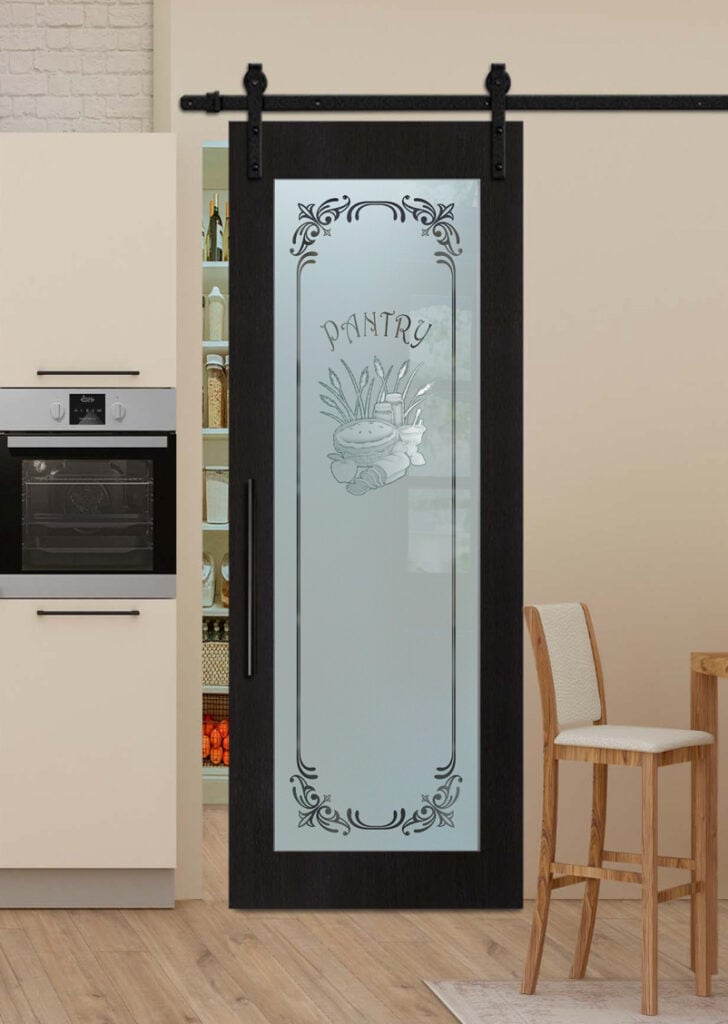
- Barn Doors
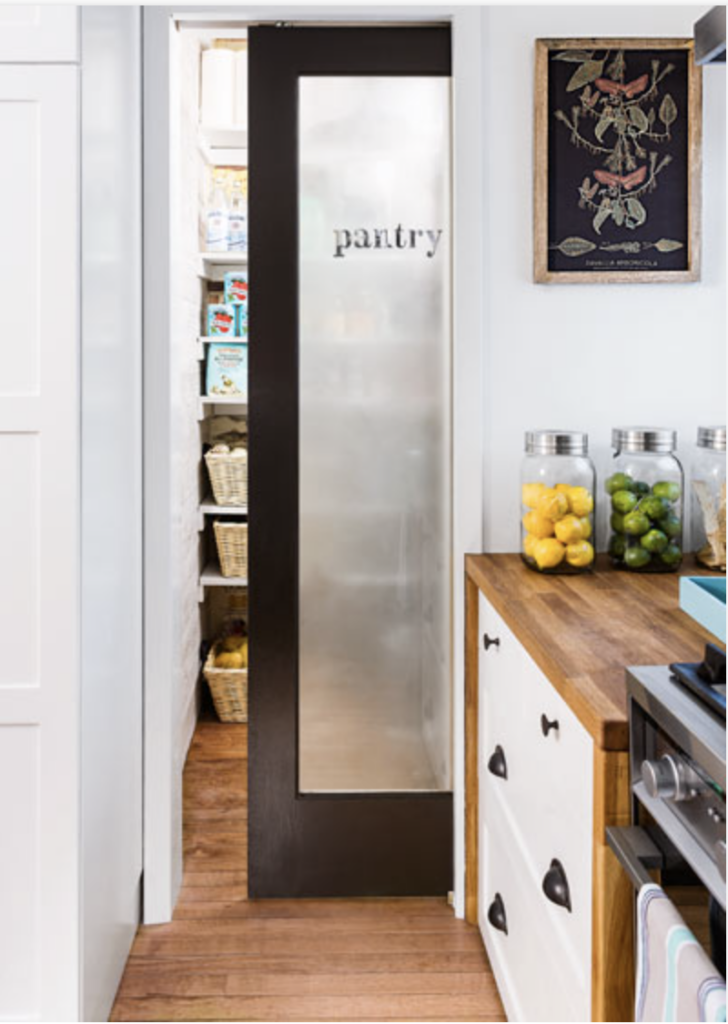
- Pocket Doors
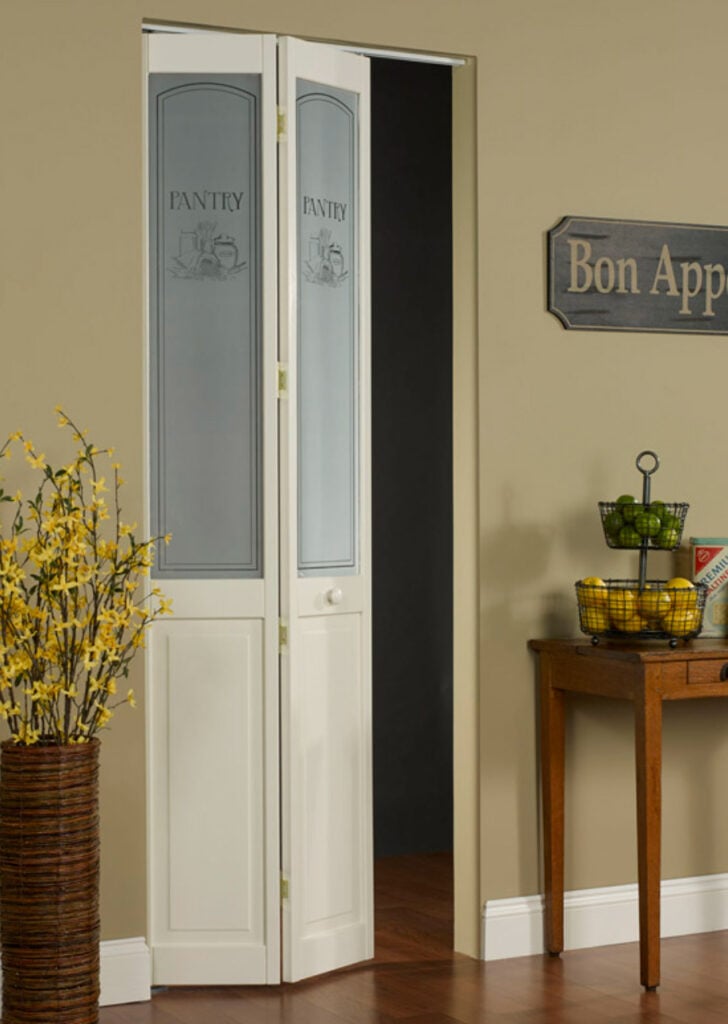
- Bi-Fold Doors
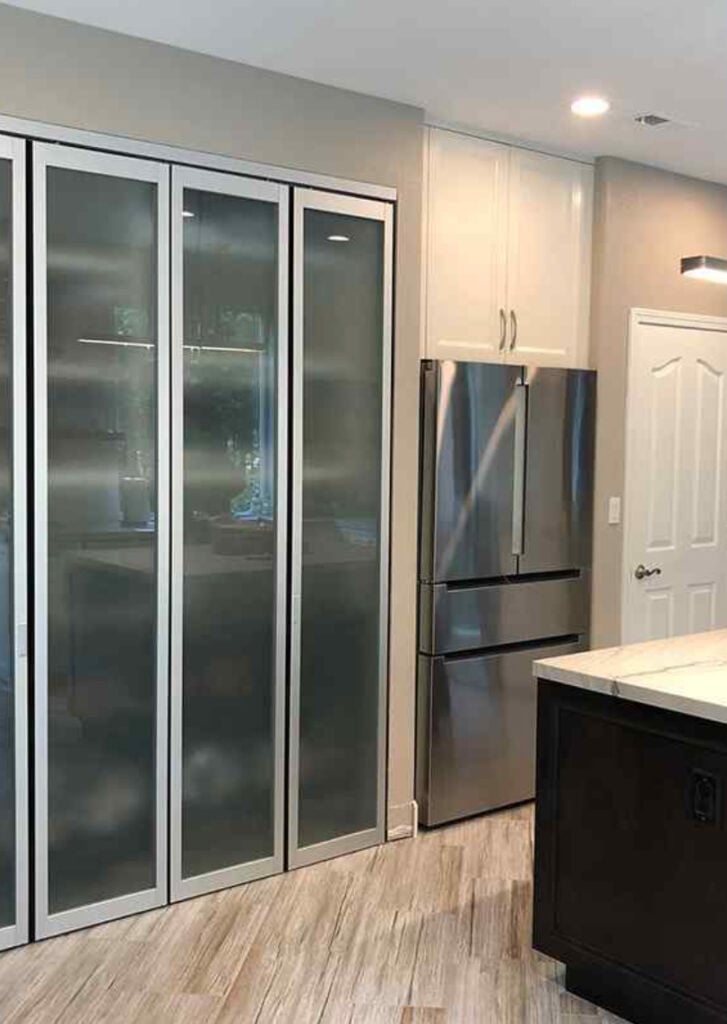
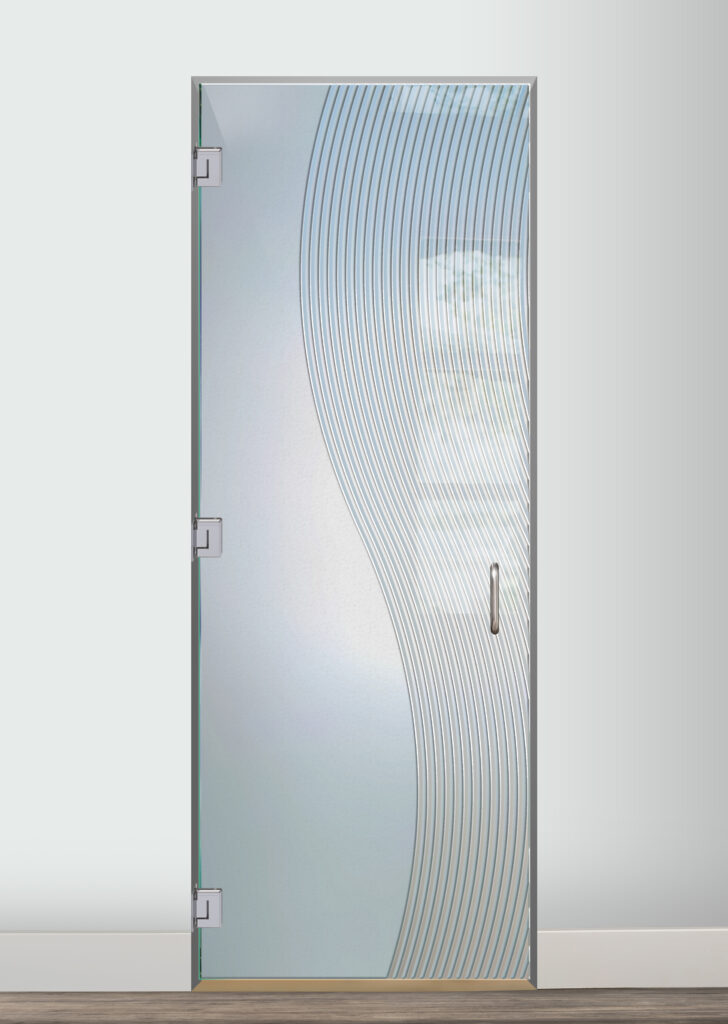
- Glass Bi-Fold Doors
- All Glass Frameless
To determine the ideal size for your pantry door, several factors should be considered:
- Assess if there is enough wall space to accommodate the door’s swing
- Consider using two doors, like French doors, for optimal space utilization
- For corner pantries, a standard door size set at a 45-degree angle works well
- Lastly, factor in the depth of shelves in the pantry to ensure the door does not impede storage.
Door Material Types We Offer at Sans Soucie
For a full description of each wood species and door material, see our Door Material Type Wood Species Guide.


Gather Essential Tools and Materials
When it’s time to install a new pantry door, gathering the necessary tools and materials is a prerequisite for your door installation project. In this guide, we’ll cover measuring and cutting tools, fasteners and hardware, and additional supplies such as shims and wood filler. We will now explore each category to equip you adequately for your DIY pantry door installation journey.
Measuring and Cutting Tools
Precision in measurements is key to a smooth pantry door installation. Here are the tools you will need:
- Measuring tape
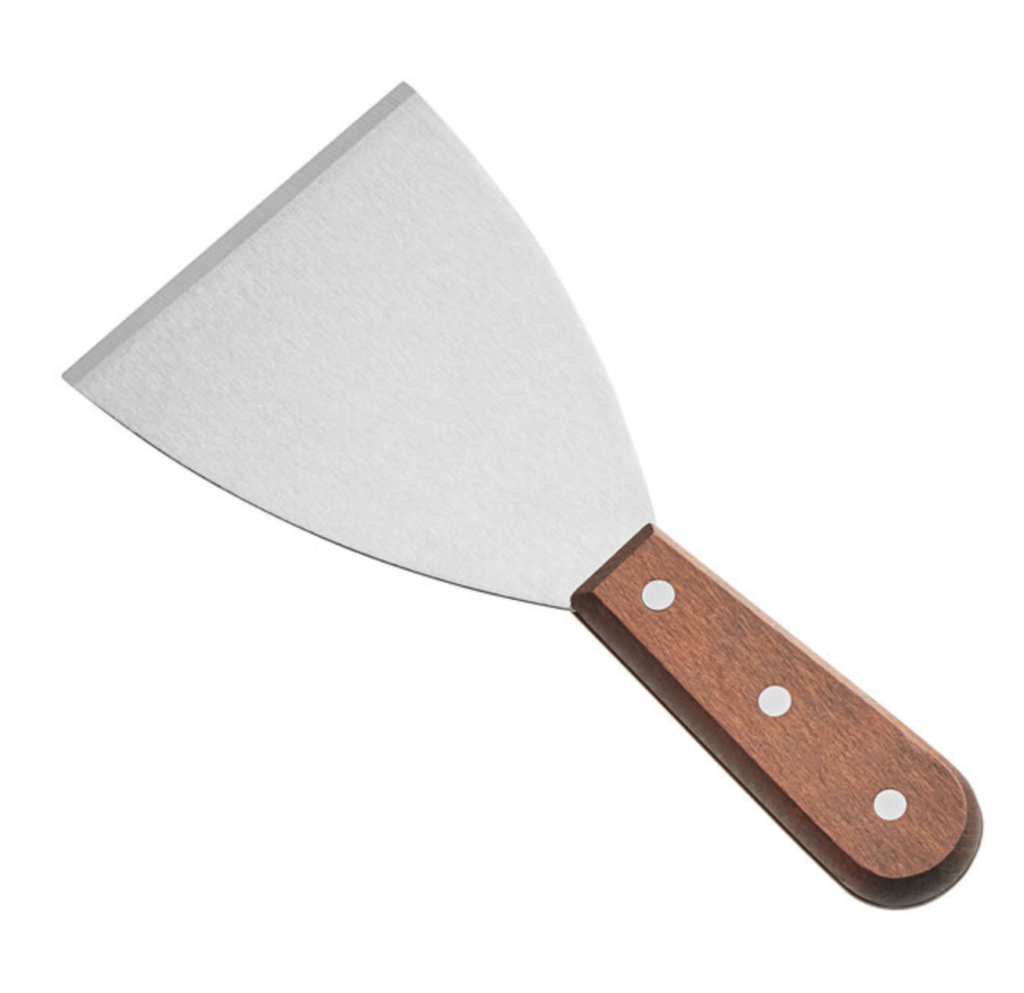
- Putty knife
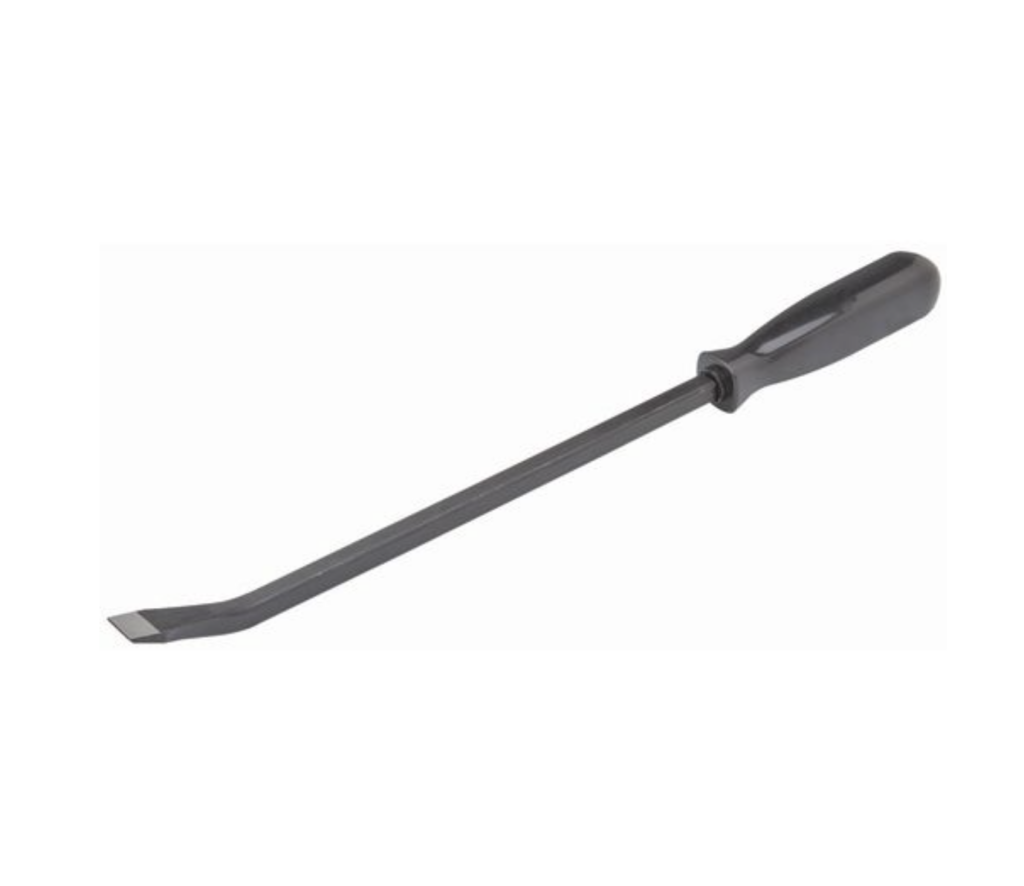
- Pry bar
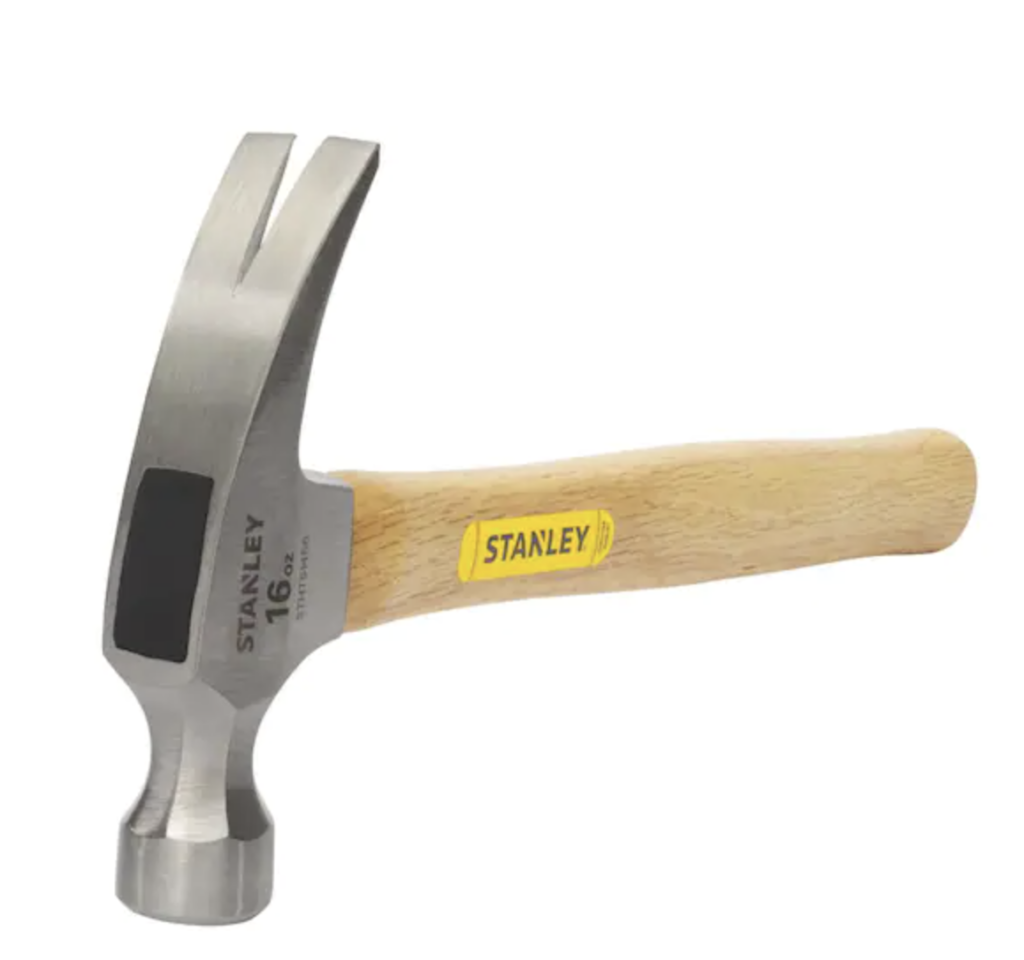
- Hammer
- Drill
- Jigs for jambs
- Sharp pencil


Tape measures like the Stanley FATMAX and the Komelon Self-Lock Power Tape are highly recommended for door installation.
A combination square is a versatile tool that can be employed for squaring, leveling, and marking during the pantry door installation process. For cutting doors, a circular saw with a straight edge is recommended to achieve precise and straight cuts. Additionally, a sharp chisel can be useful for refining edges and making minor adjustments. Safety is paramount when using cutting tools; ensure that the area is clear of potential hazards and always wear safety goggles.
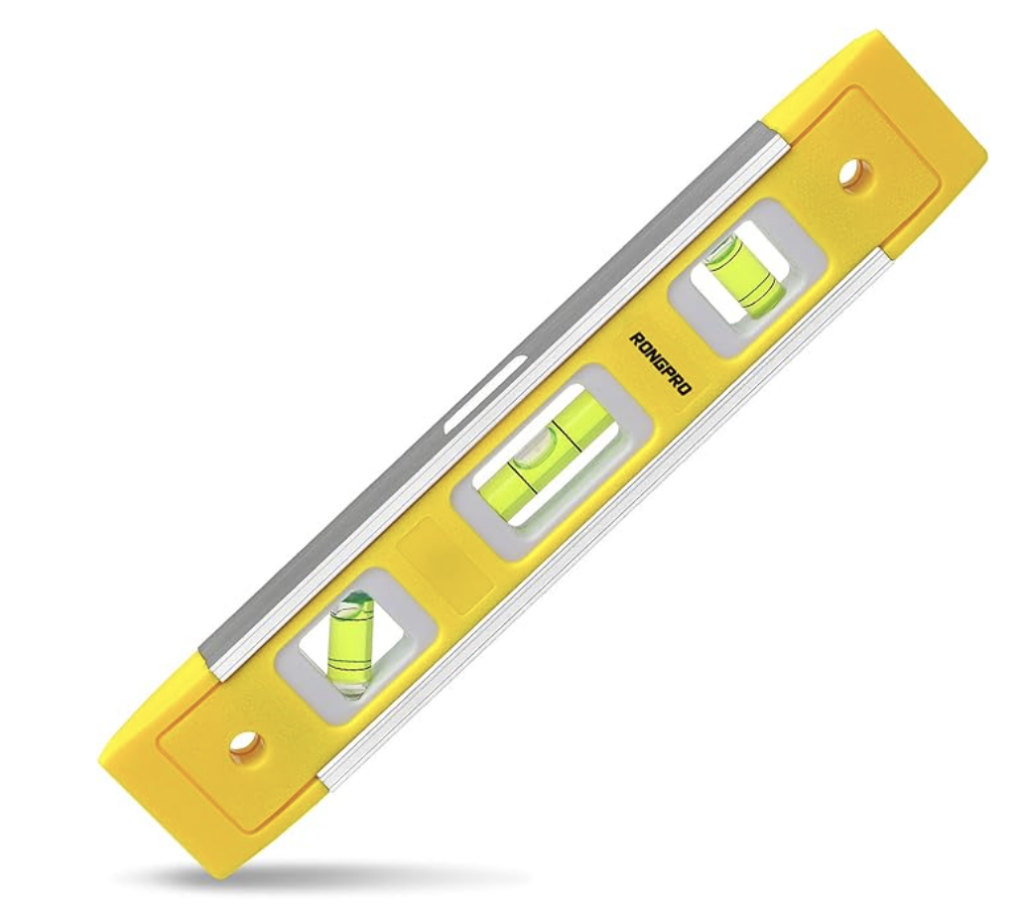
Fasteners and Hardware
Fasteners and hardware form critical components of a pantry door installation project. Typical fasteners and hardware include:
- Hammer
- Casing nails
- Level
- Wooden shims
- Hinges
- Bolts
- Handles
- Locks
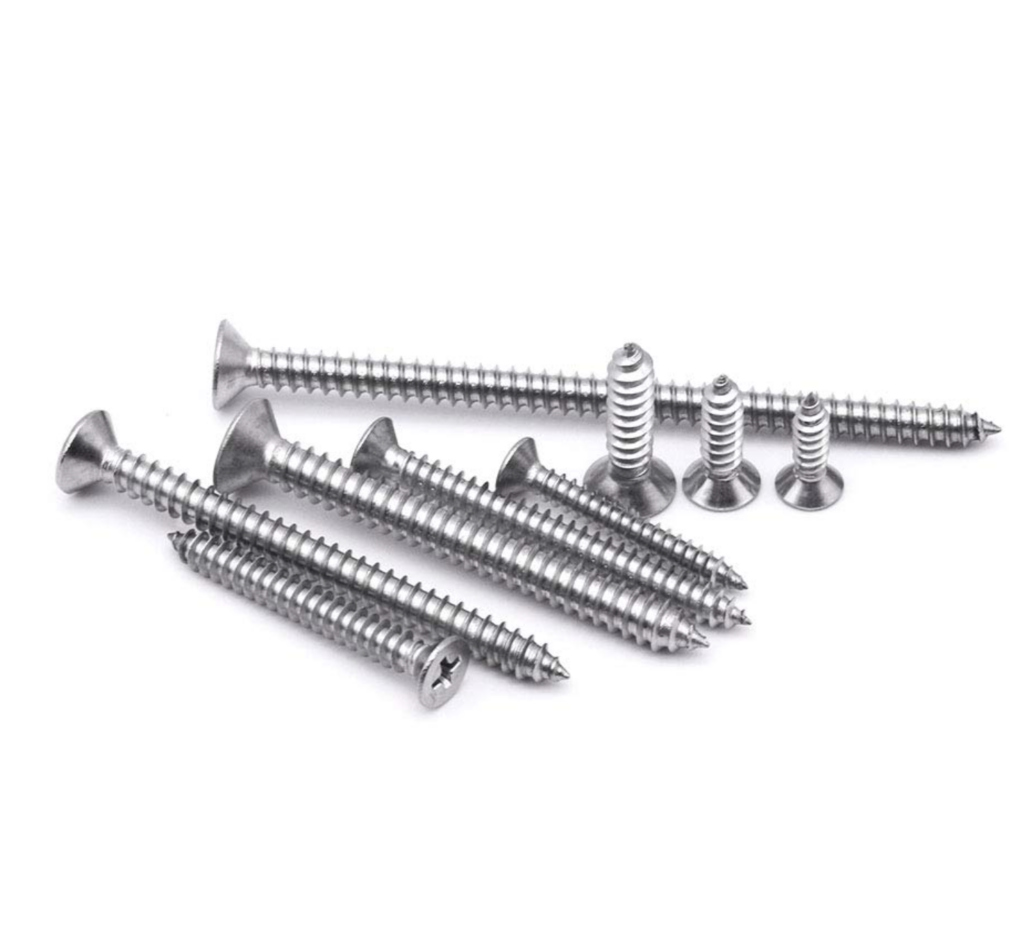
- Screws
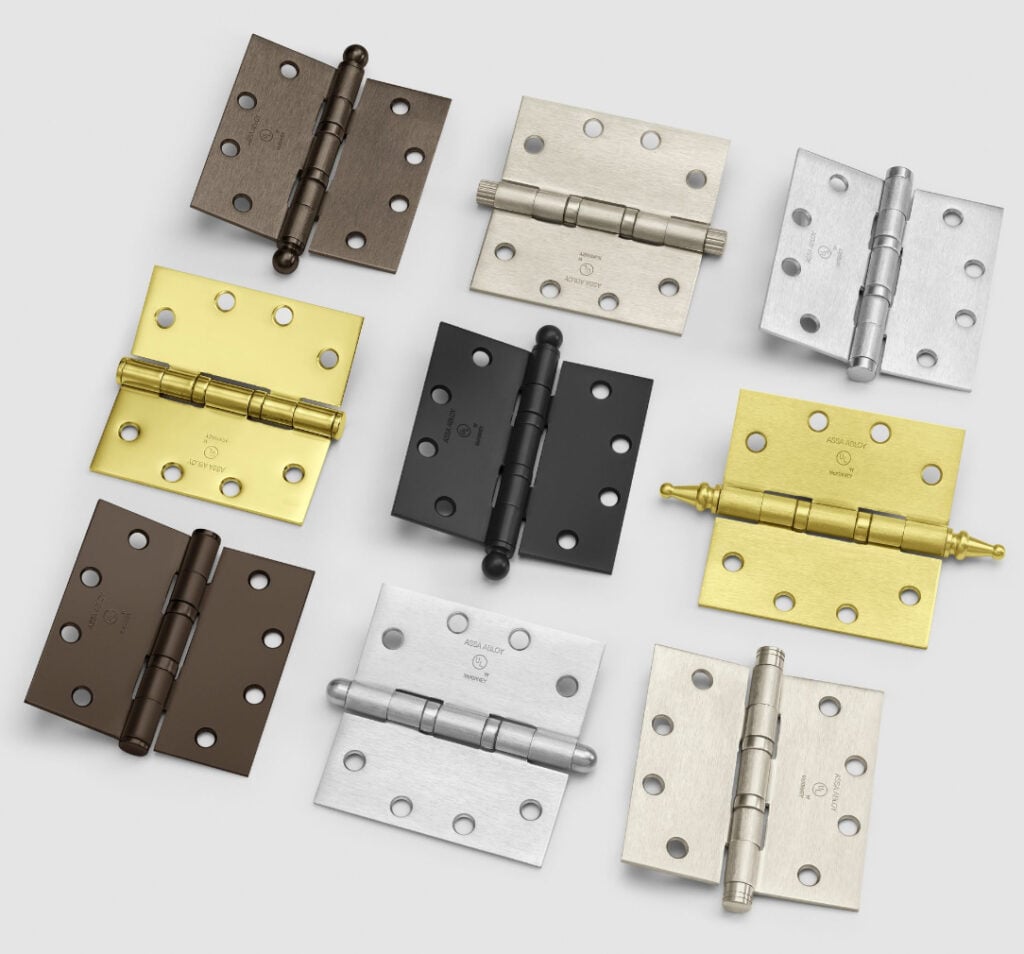

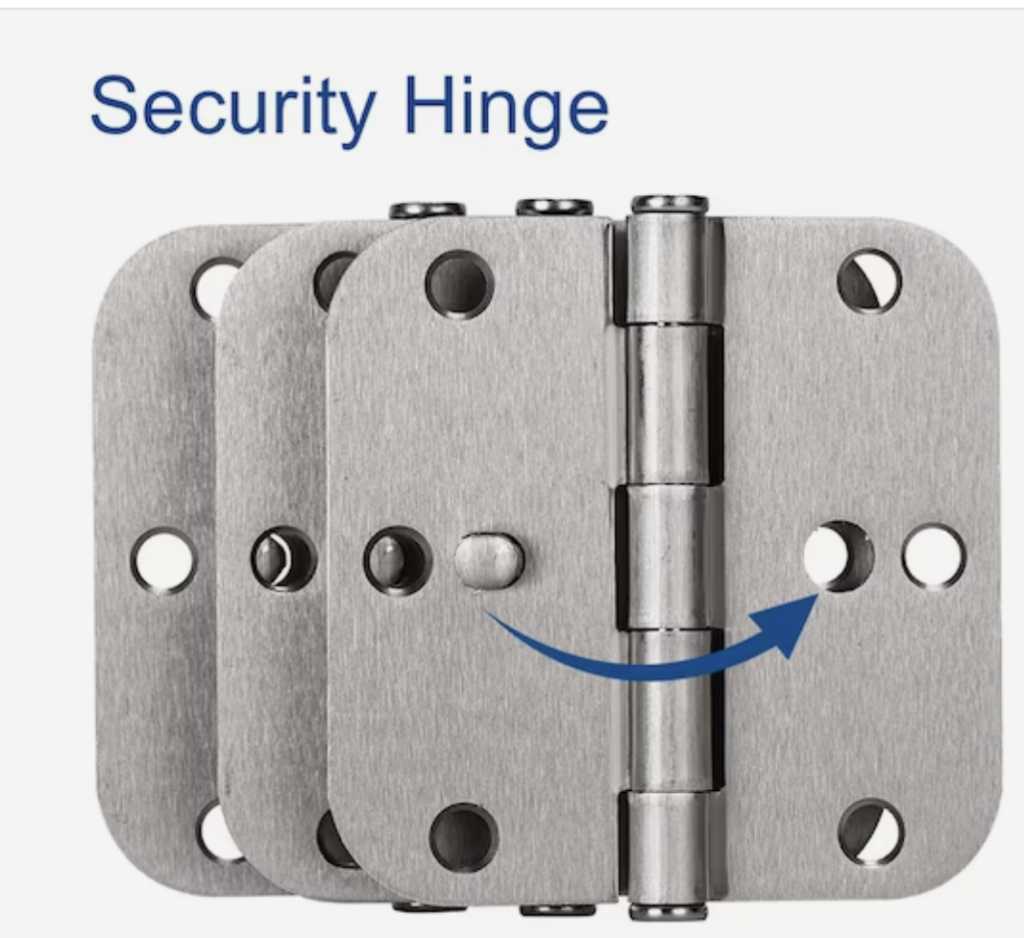
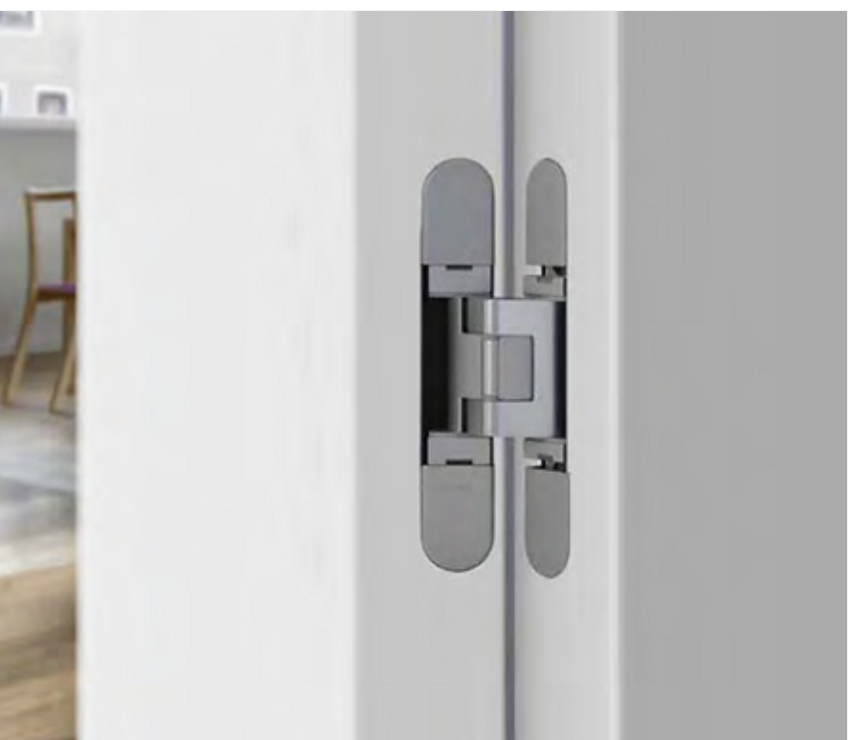
Door Hinge Types
When you begin to install a new pantry door, pay special attention to the top hinge, hinge edge, and the door’s edge. There are several types of door hinges available, each with its own distinct use:
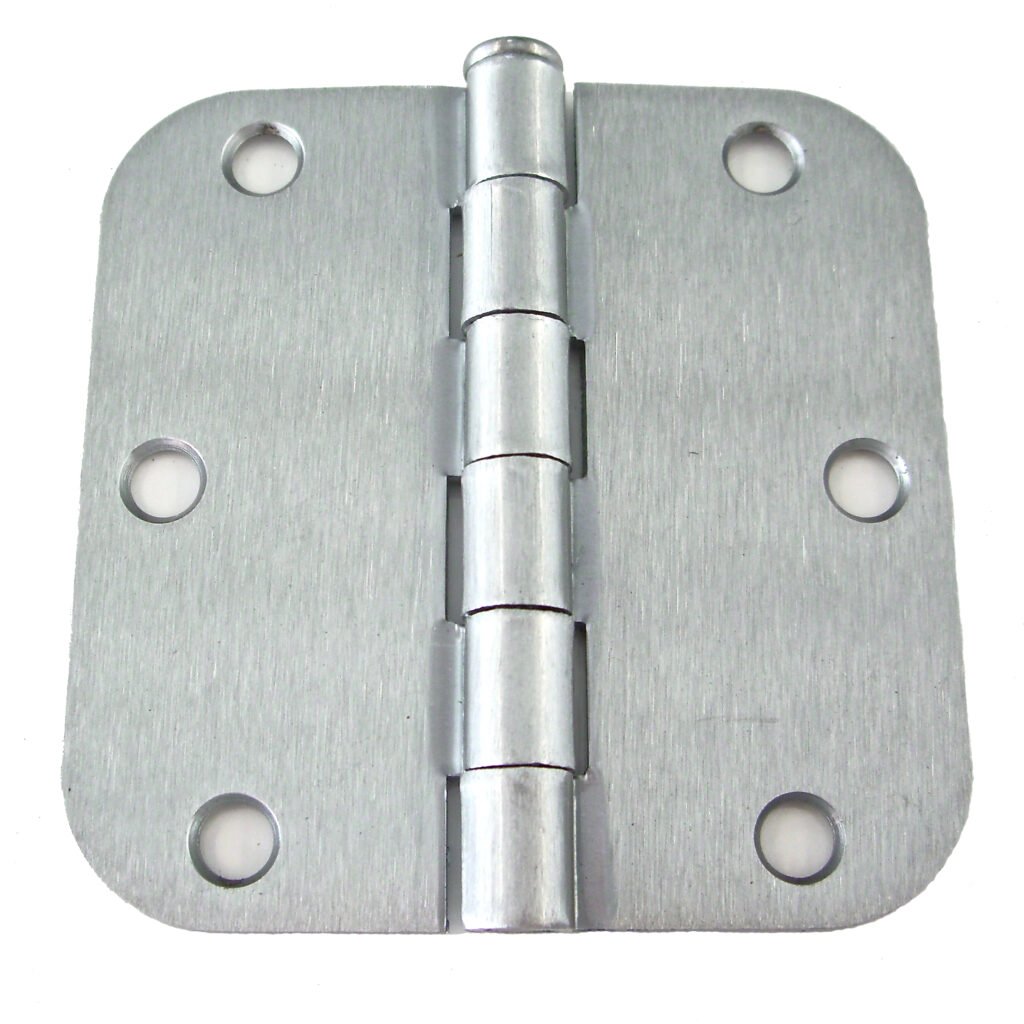
- Butt hinges: commonly used for lightweight interior doors
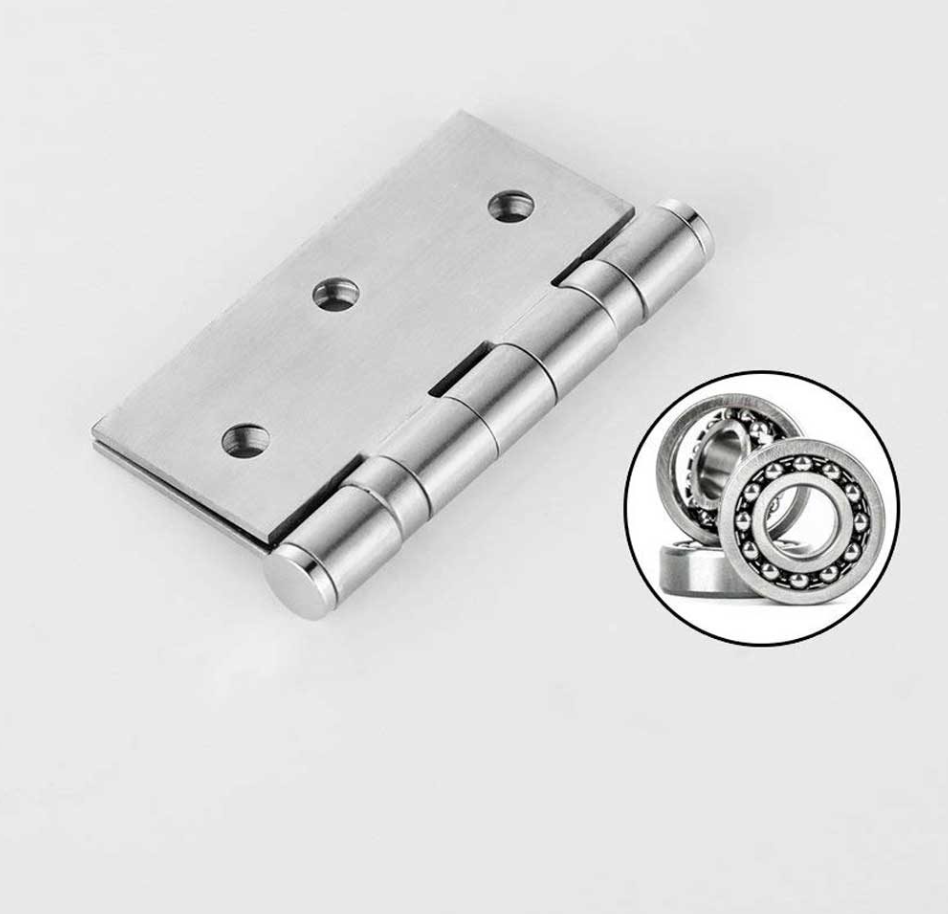
- Ball bearing hinges: often used for heavy doors
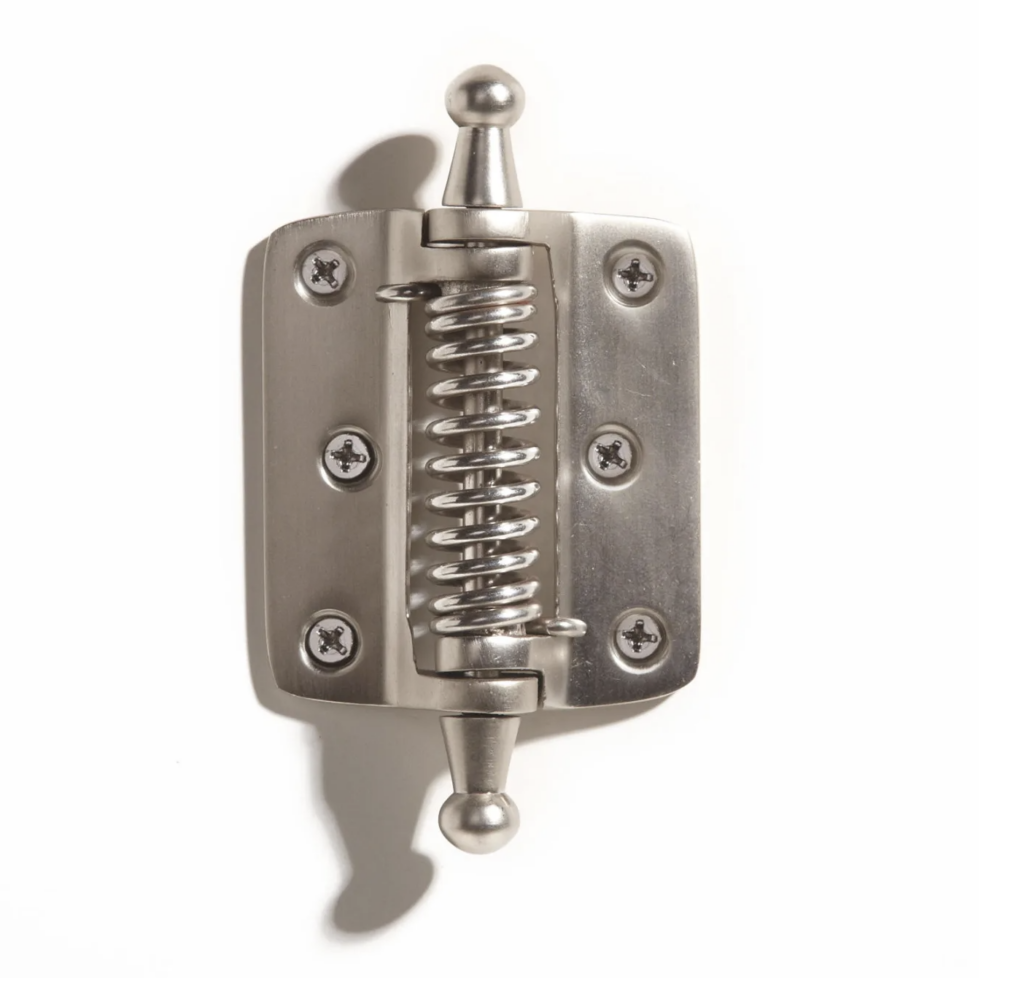
- Spring-loaded hinges: help the door close automatically
- Security hinges: prevent easy door removal
- Concealed hinges: provide a clean look
- Overlay hinges: used for overlay doors that cover the entire front of the cabinet
What’s the most common type of door hinge on a pantry door? The Butt Hinge.
Additional Supplies
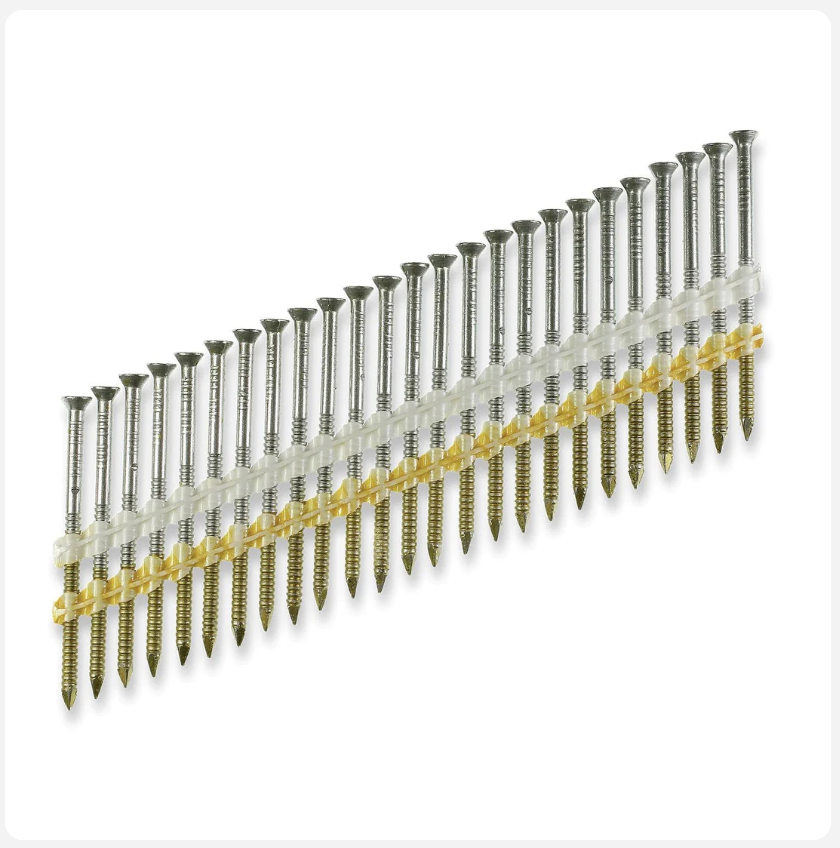
A successful pantry door installation, including hanging doors, requires some additional supplies. Typically, the following items are used to hang a door:
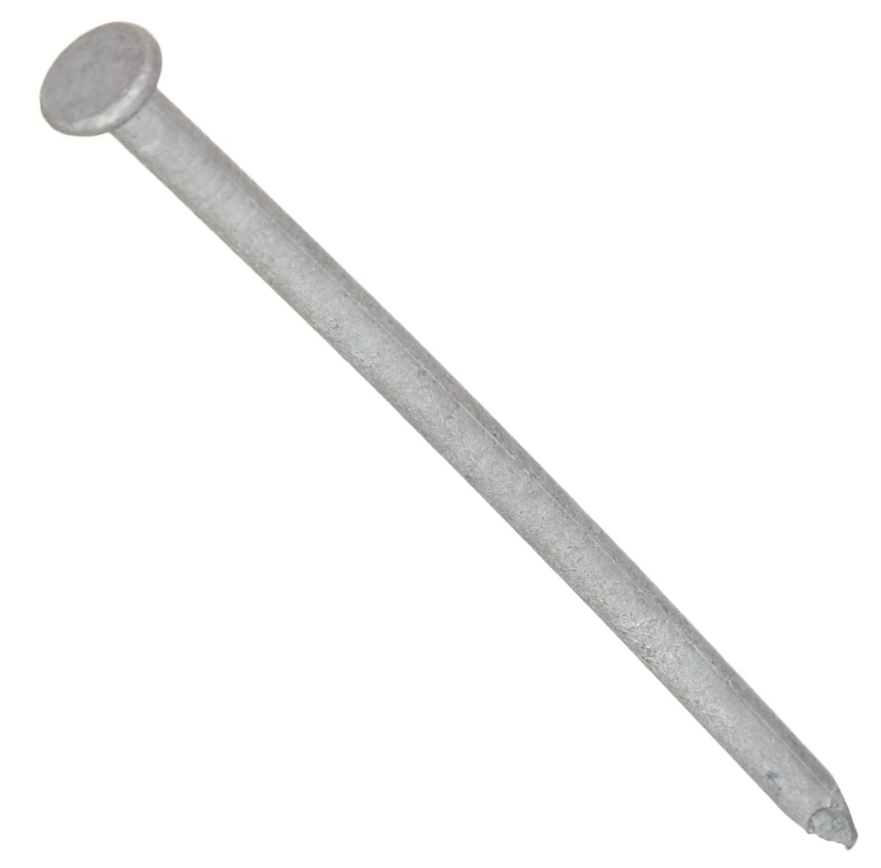
- 16d galvanized nails
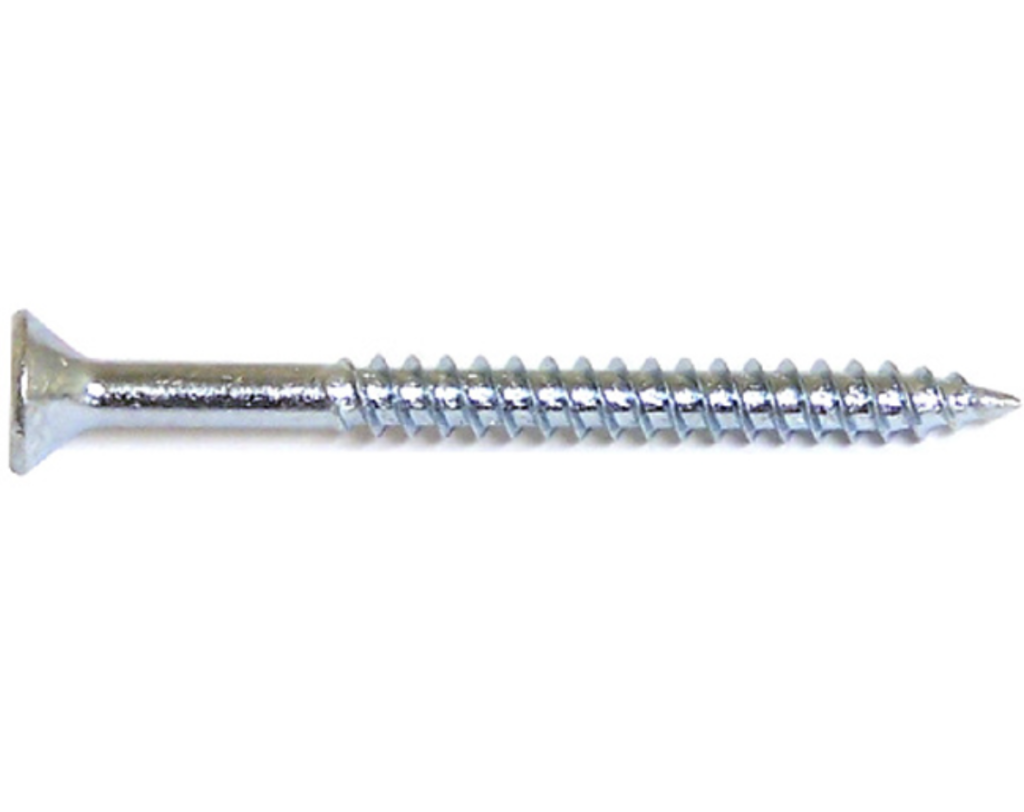
- 3-in. screws
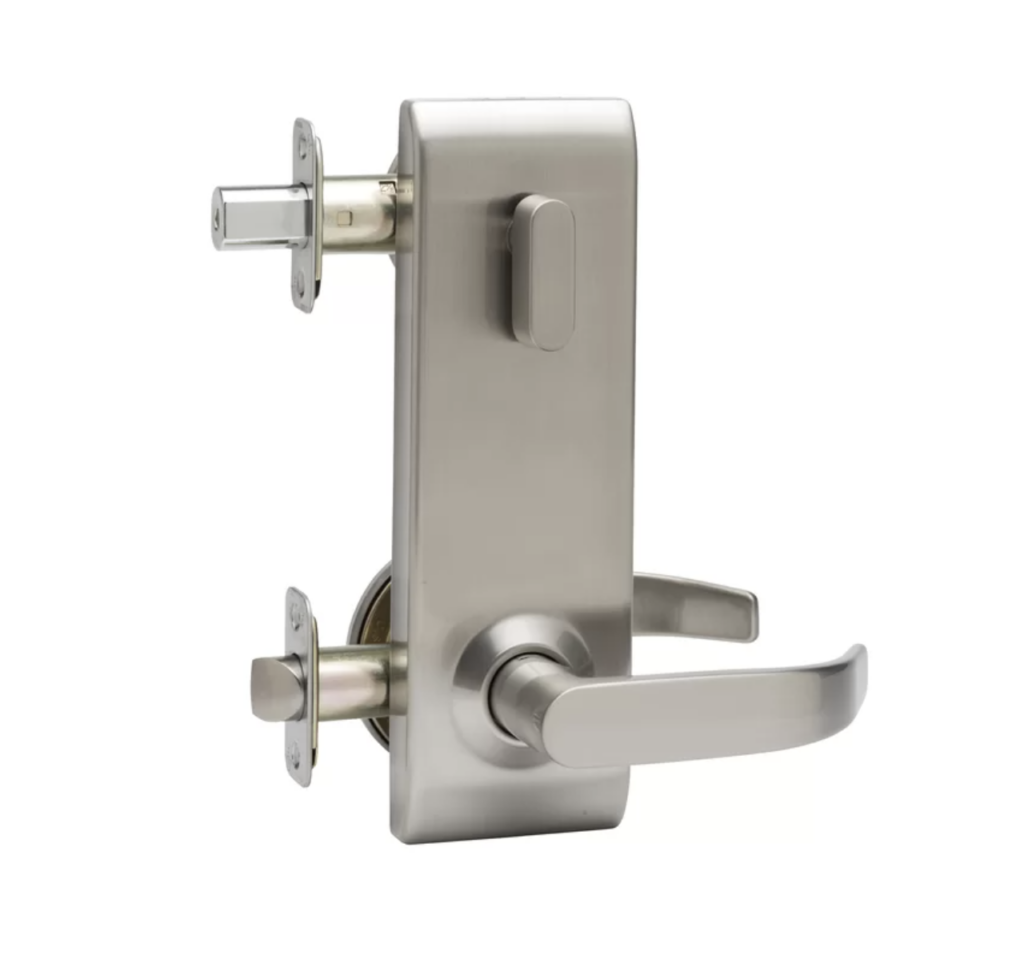
- A door latch and lock
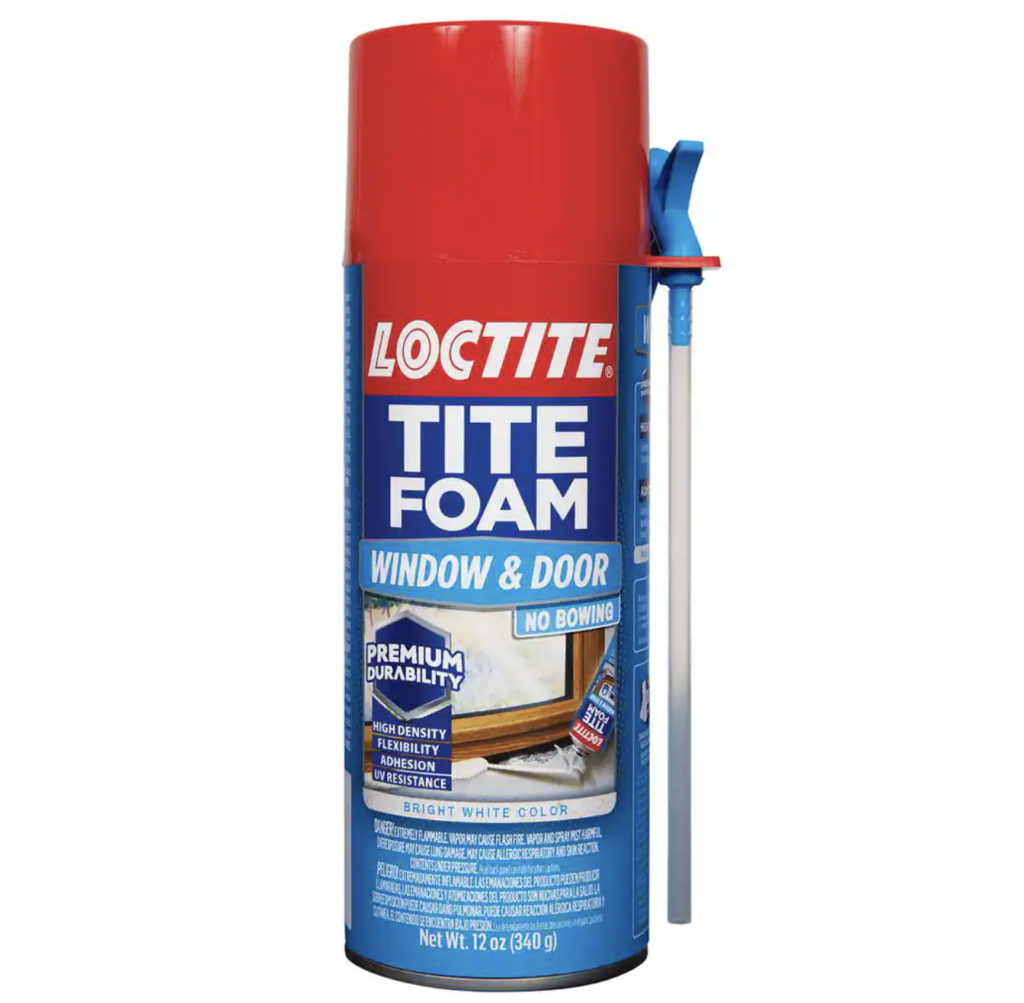
- Minimal expanding foam
- Polyurethane caulk
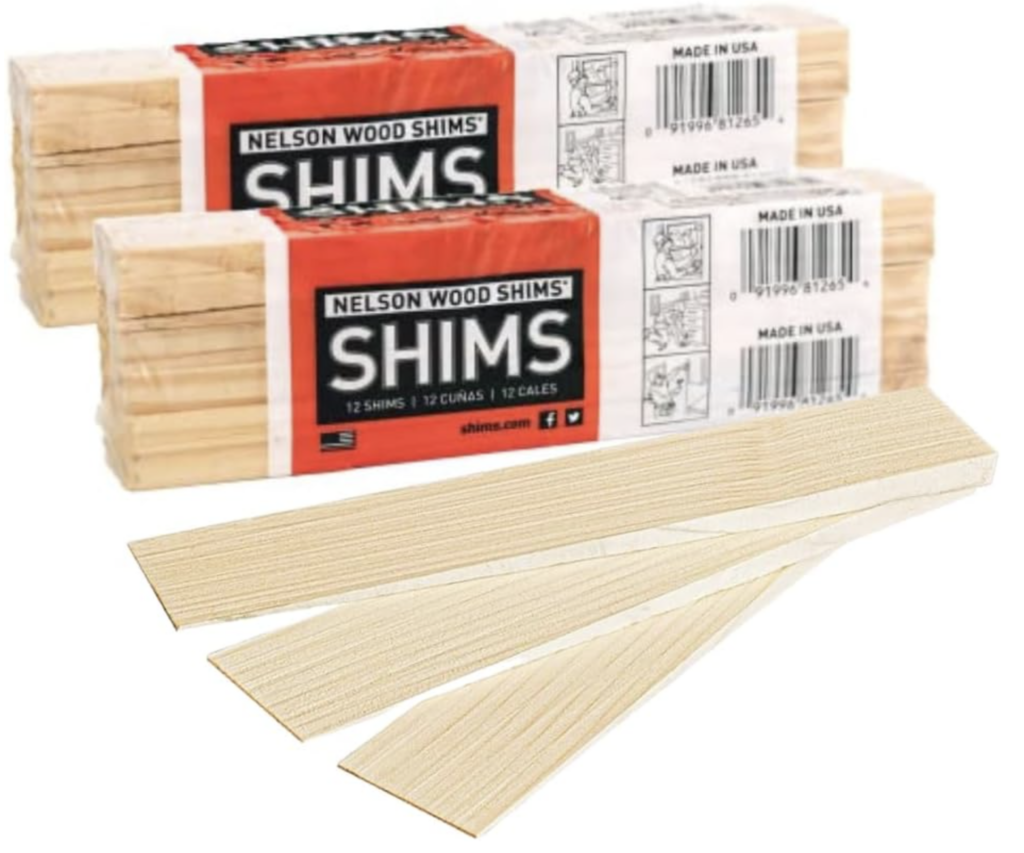
- Wood shims

Wood shims, particularly those crafted from light and soft woods such as cedar and pine, are typically used for pantry door installation because they are simple to manipulate and can be trimmed as required.
When preparing to install a new pantry door, it is recommended to begin with a coarser grit sandpaper, such as 80 or 100, for eliminating any existing finish or imperfections. Subsequently, switch to finer grits, like 180 or 220, for smoothing and prepping the wood for painting or staining.
Properly Measure the Door Opening
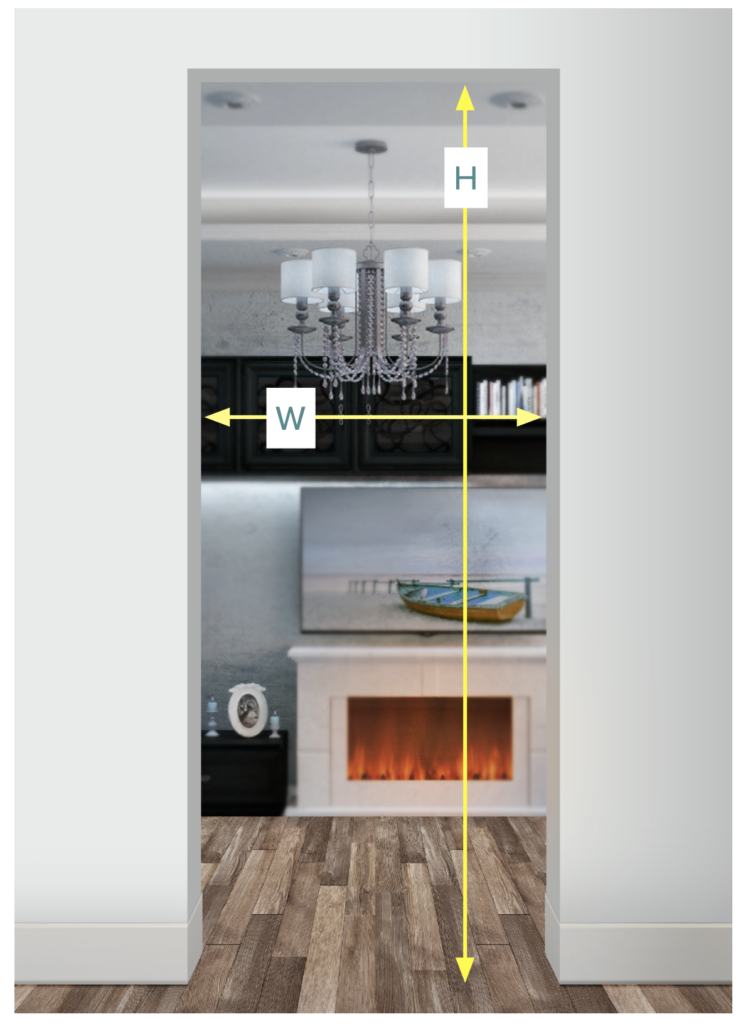
Determining the size of a wood frame door based on the size of the finished opening involves a few steps:
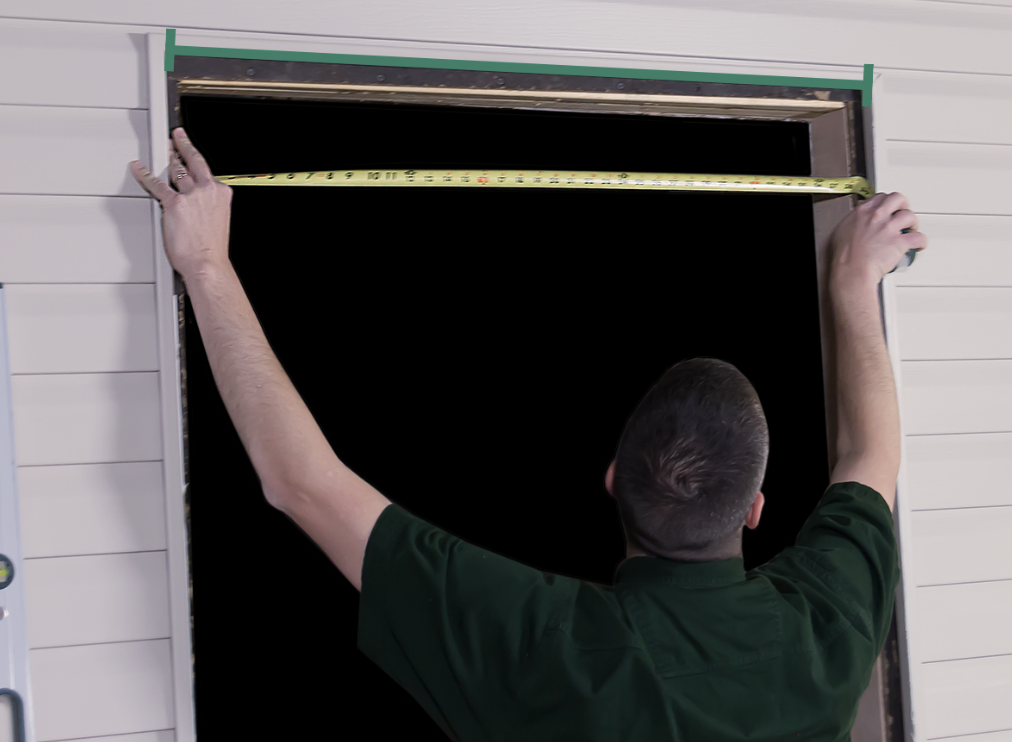
- Measure the Finished Opening: Use a tape measure to carefully measure the height and width of the finished opening where the door will be installed. Measure in multiple places (top, middle, bottom for width, and left, middle, right for height) to account for any irregularities in the opening.
- Subtract for Clearance: You need to allow for clearance on all sides of the door for smooth operation. Typically, subtract about 1/8 inch (3 mm) to 1/4 inch (6 mm) from both the height and width of your measurements. This clearance allows the door to swing freely without rubbing against the frame.
- Account for the Jamb: If you’re also installing a door jamb (the frame around the door), you need to consider its width. The standard thickness for a jamb is 3/4 inch (19 mm) on each side. However, if the walls are thicker (like in the case of drywall), you might need a wider jamb.
- Standard Door Sizes: In many cases, standard door sizes are used, which typically are slightly smaller than the rough opening. For instance, a common pantry door size is 80 inches (2032 mm) in height and 30, 32, or 36 inches (762, 813, 914 mm) in width. You would then select a door size that is closest to your adjusted measurements.
- Special Considerations: If the opening is non-standard or if you’re dealing with an older building with unique measurements, you may need a custom-sized door.
- Professional Advice: When in doubt, it’s always a good idea to consult with a professional, especially if you’re dealing with a unique or challenging pantry door installation.
Remember, precise measurements are crucial for proper door operation and aesthetics, so take your time and measure carefully.
If the door is slightly too large for the opening, it can be trimmed to accommodate the opening. Here’s how:
- Use a circular saw to trim the door.
- Use painter’s tape along the cut line to ensure a clean cut.
- When cutting, ensure the saw is braced against a cutting guide and the blade is on the waste side of the line.
Prepare the Pantry Door for Installation
Proper preparation of the pantry door is required before installation. In the following sections, we’ll cover trimming the door edge and marking hinge positions to ensure a seamless pantry door installation. Here are two super helpful videos that show how to hang:
- How to Hang a Pantry Door that is NOT Prehung (a slab or book door)
- How to Install a Pre-Hung Pantry Door
Trimming the Door Edge
For a perfect fit, the pantry door edge needs to be trimmed. Here’s how to do it:
- Use a saw, plane, or belt sander to remove the wood up to the pencil marks.
- Then sand the edges until they are smooth and pristine.
- When trimming a pantry door using a circular saw, apply painter’s tape along the cut line, mark the line on the tape, and score it with a utility knife to ensure a clean cut.
Remember to run the plane in the direction of the wood grain when planing a door edge. Apply gentle pressure and plane the hinge or lock sides of the pantry door in the same direction as the wood grain. If the amount to be trimmed is less than 1/8 inch, it should be planed down, while a circular saw should be utilized if the amount is greater than 1/8 inch.
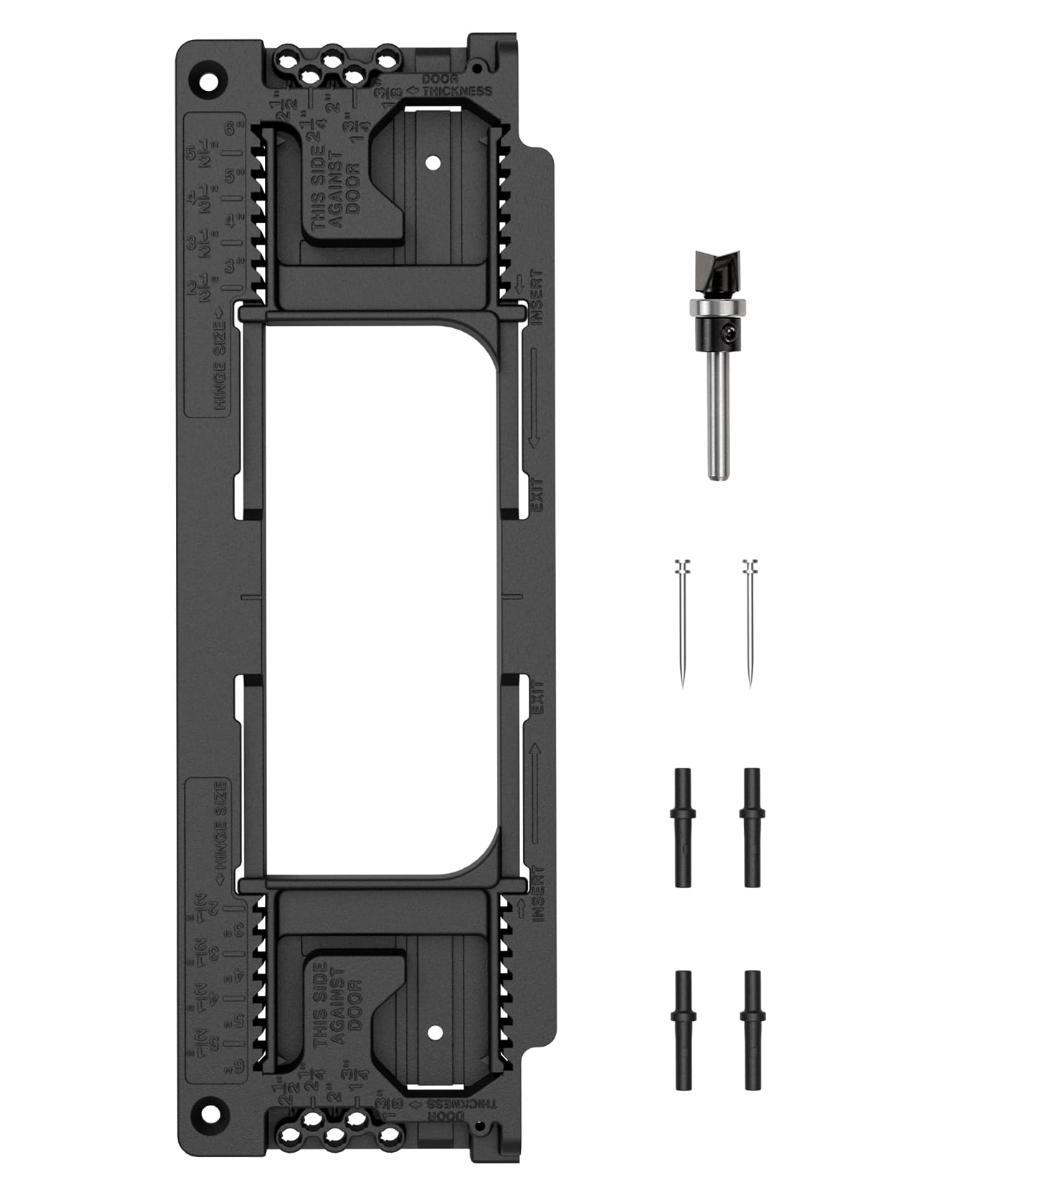
Marking Hinge Positions
A successful installation necessitates accurate marking of hinge positions on both the pantry door and the door frame. Utilize a combination square to mark both the door and the frame. To determine the hinge placements on the pantry door, position the door on its side with the hinge side facing upwards, secure the hinges on the pantry door’s edge, and outline the positions of the recesses.
Generally, the lower hinge is situated around 10 inches from the floor, and the upper hinge is around 5 inches. It’s important to ensure the pantry door will fit correctly and work seamlessly. Once the hinge positions are marked, you’re ready to move on to installing the hinges.
Installing the Hinges
The door installation process involves a critical step of installing the hinges. Here’s how to do it:
- Start by attaching one leaf of the hinge to the door frame.
- Place the door in the doorway.
- Secure the two leaves of the hinge together and insert the pin.
- Use a drill bit that is slightly narrower than the screws to create pilot holes for the screws.
To ensure accurate hinge placement, use a Vix-Bit or mount each hinge with one screw and then drill pilot holes for the other two screws. When creating the hinge recesses, use a hammer and chisel to chisel the wood until the hinge is flush with the pantry door’s edge.
After installing the hinges, you’re ready to position and shim the pantry door.
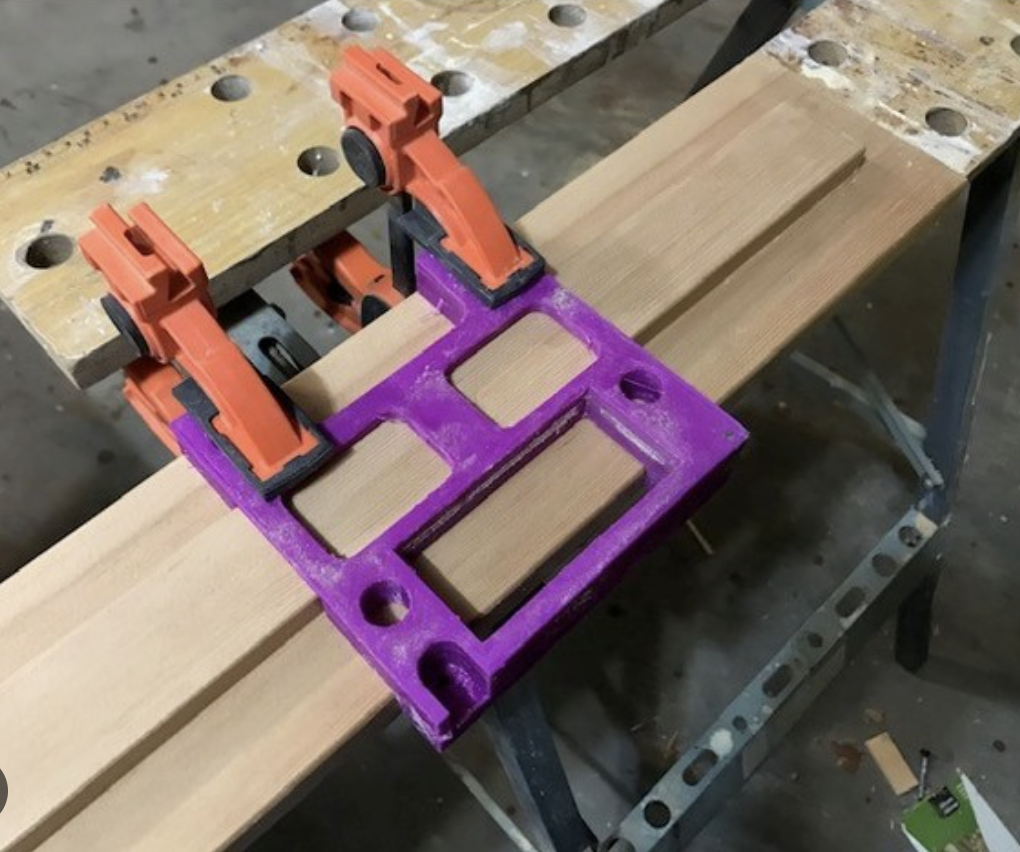
Positioning and Shimming the Pantry Door
The existing door guarantees a perfect fit and smooth operation when positioned and shimmed correctly.
In the following sections, we’ll cover placing the pantry door in the frame and shimming and adjusting the door to achieve a snug fit and even gaps.
Placing the Pantry Door in the Frame
To place the door in the frame, follow these steps:
- Start by marking the location of the hinges on the drywall alongside the opening to ensure the door shims are placed correctly.
- Position the top plate and sole plate, and nail the king studs in place.
- Shim between the hinges and studs, positioning the shims so that approximately half of the shim is situated above the hinge.
Elevate the door in the doorway using a wooden wedge until there is only a 2/3mm gap remaining. Once the door is in the frame, you can move on to shimming and adjusting the door for a perfect fit.
Shimming and Adjusting
For a snug fit and even gaps, the pantry door needs to be shimmed and adjusted. Shimming during door installation is used to fill any small gaps and align the pantry door frame in the rough opening, ensuring the door hangs correctly and operates smoothly. Here’s how to shim a door:
- Place door shims at the top and bottom hinge locations.
- Use either a long level or a straight board and a short level to check for evenness.
- Add the center door shims and secure the jamb in place by driving two finish nails into each set of shims.
To create an even gap between the door and the jamb, shim behind the latch-side jamb. After shimming behind the latch-side jamb, secure the jamb in place by driving two finish nails into each set of shims. This will ensure that your door operates smoothly and fits perfectly in its frame.
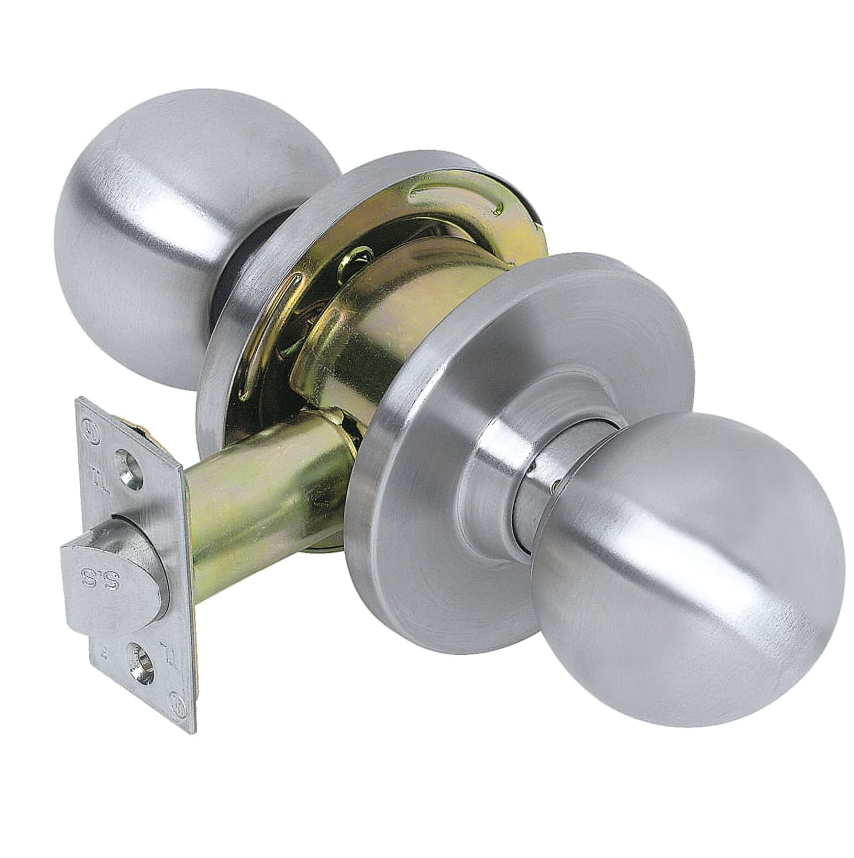
Installing the Door Knob and Strike Plate
The final step in your pantry door installation project is to install a door knob and strike plate. Here’s how:
- Start by removing the old door knob, latch, and strike plate, if necessary.
- Position the new latch plate on top of the door and align it with the hole.
- Insert the latch into the hole and secure it with screws.
- Attach the exterior and interior knobs to the latch mechanism, confirm that the knobs are correctly aligned, and tighten the screws.
- Test the door knob to verify its proper operation.
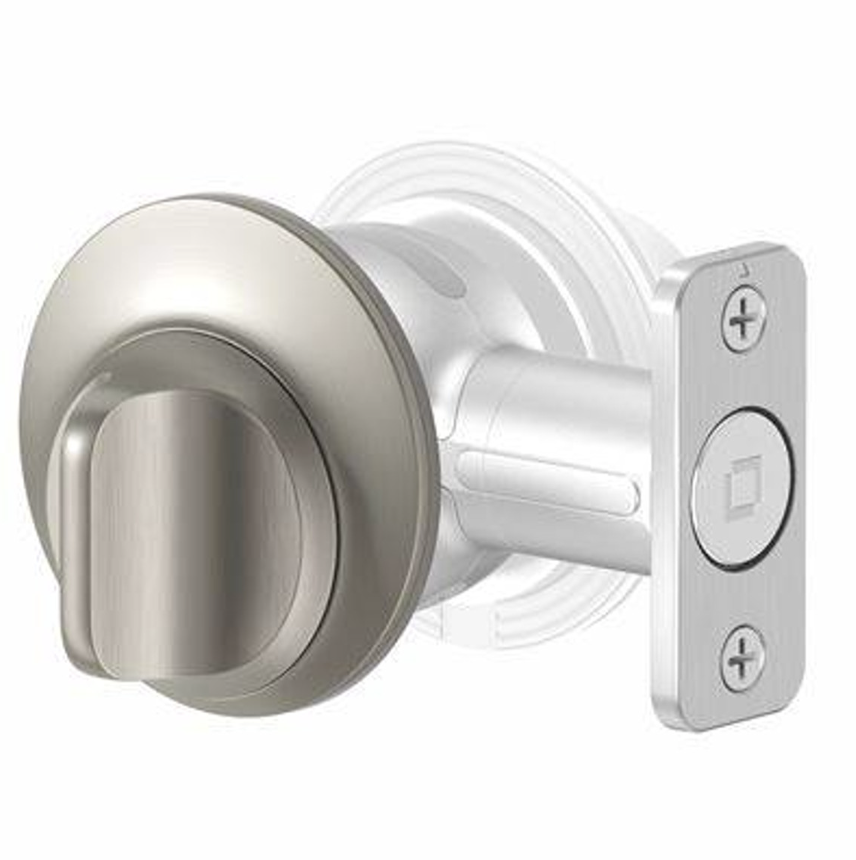
To install the strike plate, follow these steps:
- Mark the location of the strike plate on the door jamb.
- Drill a hole in the jamb to accommodate the strike plate.
- Chisel out a small hole for the outer part of the strike plate.
- Use the center screw to securely attach the strike plate in place.
- Tighten the center screw before installing the angled screws, ensuring that the strike plate is properly aligned with the door latch for optimal operation.
Fine-Tuning and Finishing Touches
After the door is installed, it may require some fine-tuning and finishing touches for a professional-looking pantry door installation. In the next section, we’ll cover planing tight spots and making final adjustments for a smooth-operating door.
Planing Tight Spots
If the door has tight spots requiring planing, ensure you run the plane in line with the wood grain. Apply gentle pressure and plane the hinge or lock sides of the door in the same direction as the wood grain. Use a hand plane on a door by:
- Gripping the hand plane with both hands or with a single hand if using a small block plane
- Employing light, consistent strokes as you run the plane over the wood
- Regularly checking the door to ensure you’re achieving the desired result.
When planing a door, it’s essential to take the necessary safety precautions, such as eliminating trip hazards, donning protective gear, and firmly securing the door. Work from the edge or end towards the center, maintain the plane iron sharp, and adhere to proper first-aid procedures.
Troubleshooting Common Pantry Door Installation Issues
You may encounter common door installation issues like doors failing to latch or bind. In most cases, these issues can be easily fixed by following the proper techniques and making necessary adjustments. For latching issues, check the alignment of the strike plate and ensure the hinge side is plumb. Adjusting the hinges may also help resolve these issues.
For binding doors, follow these steps:
- Identify the problematic areas by opening and closing the door.
- Secure the door in place, either clamping it or holding it between your legs.
- Plane the high spots on the door using a hand plane, removing small amounts of wood at a time.
- Continue planing until the door fits properly and operates smoothly.
Tips for a Successful DIY Pantry Door Installation
Summarizing, several key factors underpin a successful DIY pantry door installation. First, choose the right pantry door that complements your space’s design and functions well for your needs. Gather the essential tools and materials, such as measuring and cutting tools, fasteners and hardware, and additional supplies.
Measure the door opening accurately and prepare the door by trimming the edge and marking hinge positions. Install the hinges, position and shim the door, and attach the door knob and strike plate. Fine-tune your installation by planing tight spots and making final adjustments for a smooth-operating door.
Lastly, troubleshoot any common door installation issues and make any necessary adjustments. By following these tips and best practices, you’ll achieve a professional result and a door that operates smoothly.

Summary
In conclusion, mastering the art of door installation requires careful planning, precise measurements, and attention to detail. By following the comprehensive guide outlined in this blog post, you’ll be well-equipped to tackle your pantry door installation project with confidence. Enjoy the satisfaction of a job well done and the transformation a new door brings to your home.
Frequently Asked Questions
Can I install a new pantry door myself?
Yes, you can install a new pantry door yourself by replacing an existing door with a new one that fits the same jamb.
What is the labor cost to install a new pantry door?
The average labor cost to install a new pantry door is between $360 and $1,211, typically costing around $783. Costs vary depending on the type of door, style, material and hardware used.
Can you replace a pantry door without replacing the frame?
It is possible to replace a pantry door without replacing the frame, provided the frame is in good condition and the new door panel is the same size as the old one. You would purchase what’s called a slab door or a book door. However, if there are signs that the door frame needs replacing, this should be done for a successful installation.
What is the best material for my pantry door?
For a pantry door, wood or metal are the best options for their durability and low maintenance needs.
How do I properly measure the door opening?
Use a tape measure to carefully measure the height and width of the finished opening where the door will be installed. Measure in multiple places (top, middle, bottom for width, and left, middle, right for height) to account for any irregularities in the opening.
Do I need to remove the trim when installing a new pantry door?
Not always. If you’re replacing a slab door and keeping the existing frame, the trim can typically stay in place. However, if you’re installing a pre-hung door or the frame is damaged or out of square, removing the trim may be necessary to properly fit and secure the new unit.
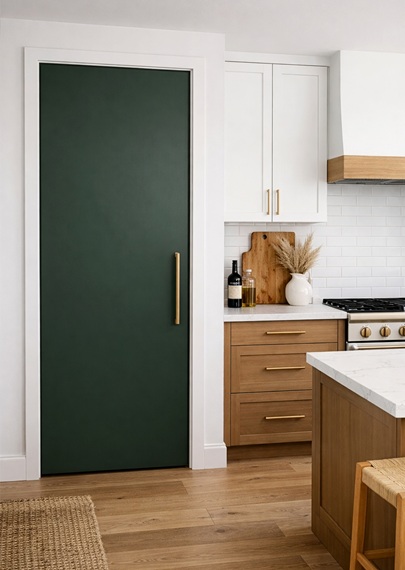
What type of pantry door is best for small kitchens or tight spaces?
For smaller kitchens, space-saving options like sliding barn doors, pocket doors, or bi-fold doors are ideal. These designs eliminate the need for swing clearance, making them perfect for tight layouts while still providing easy access and a clean, functional look.
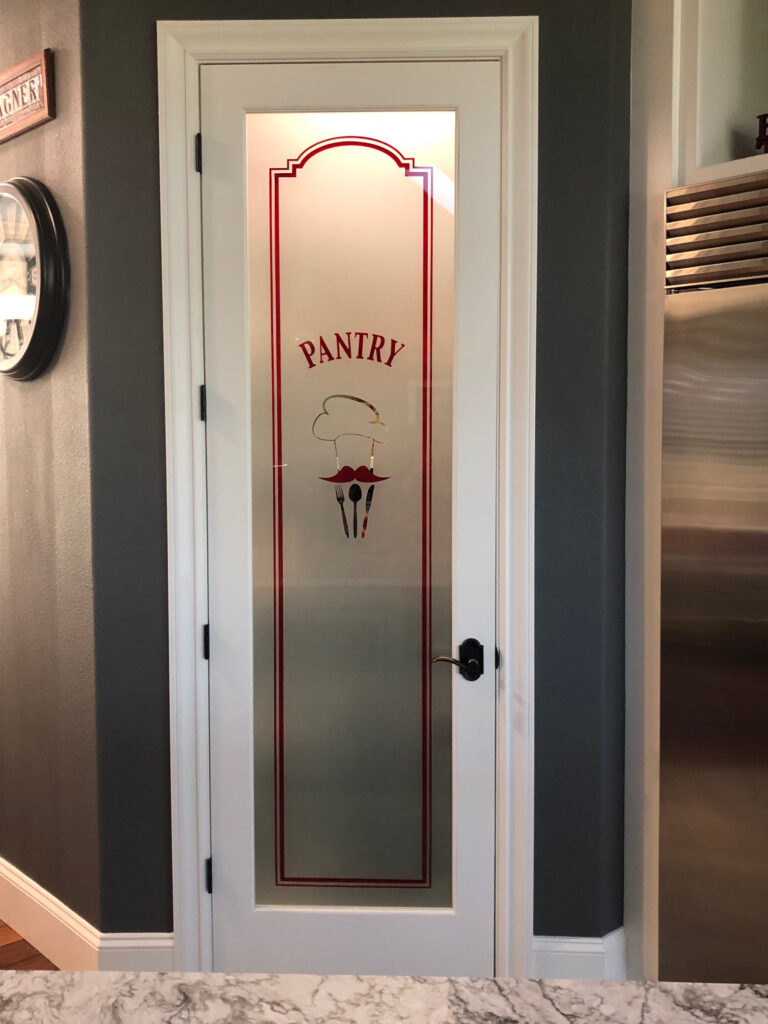
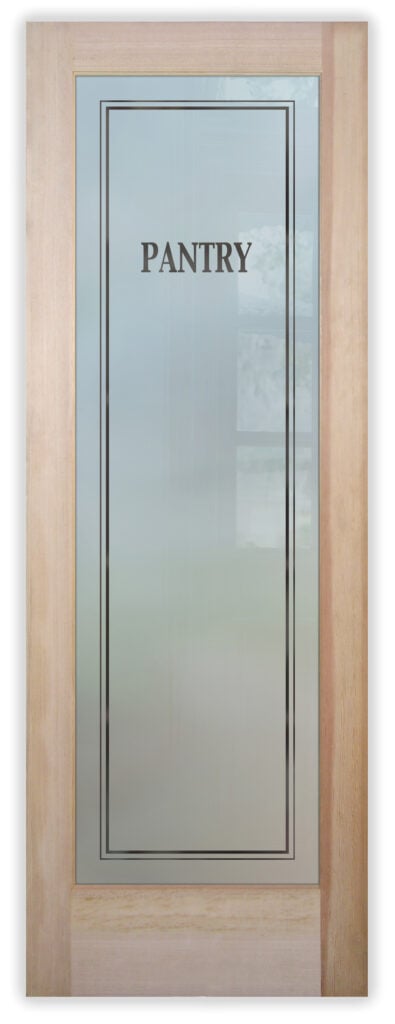
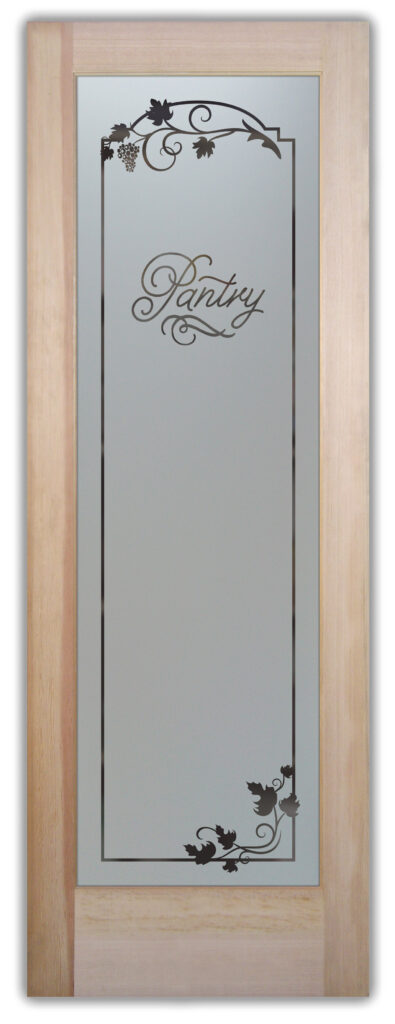
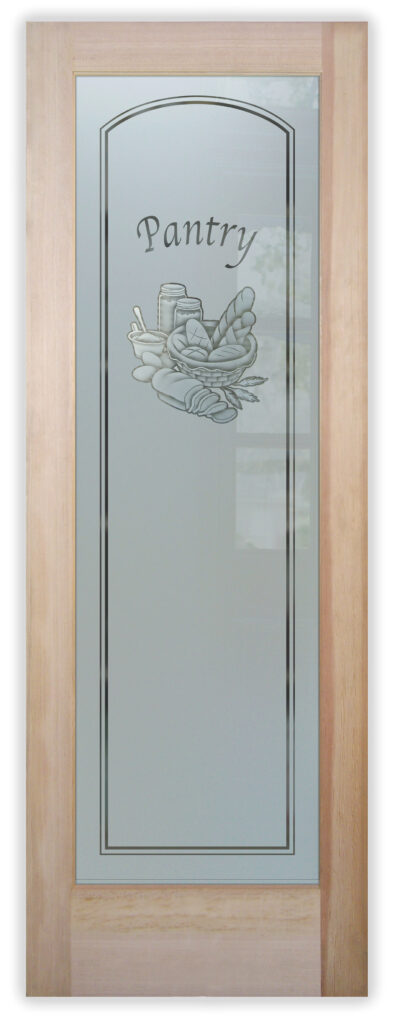
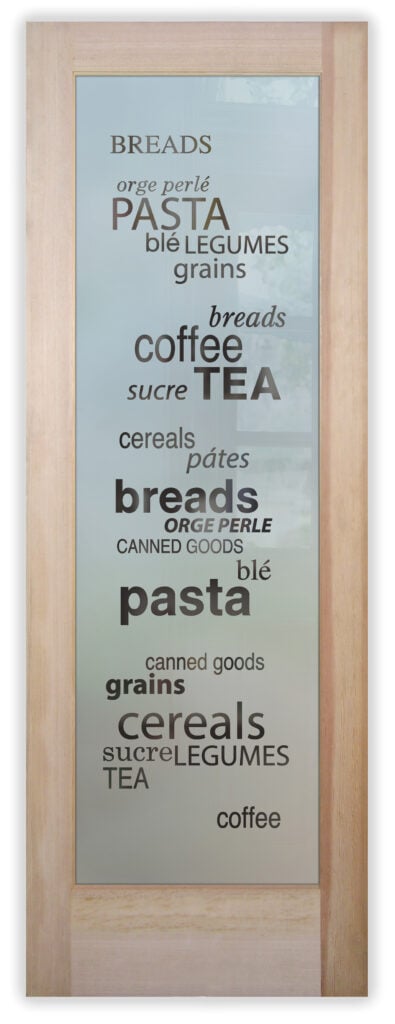
Can I customize the design on a frosted glass pantry door?
Yes, a frosted glass pantry door can be fully customized with a wide range of designs, from simple etched patterns and borders to detailed artwork like florals, text, or themed kitchen designs. This allows you to match your décor while adding both privacy and a unique decorative element to your space.


We hope you found this guide helpful in navigating the complexities of installing a new pantry door. If you’re looking to elevate your kitchen’s style with a unique touch, we invite you to explore our exquisite collection of custom-designed frosted glass pantry doors by Sans Soucie Art Glass. Each piece is a work of art, crafted to enhance the beauty and functionality of your space. Discover the perfect door to complete your kitchen’s transformation today!
Sans Soucie Art Glass: Decorative, Custom & Frosted Glass Doors, Windows, Showers & Stained Glass Since 1976
Family-owned and operated since 1976, Sans Soucie Art Glass leads the industry in decorative glass and custom glass design — from sandblast frosted glass and carved glass to hand-painted and stained glass art — transforming ordinary glass into Works of Art Captured in Glass recognized worldwide.
Innovative Frosted Glass Door Designer Tool
In 2010, we invented and launched our Frosted Glass Pantry Door Designer – a fun, easy-to-use tool that makes it simple for anyone to design and customize not only pantry doors, but a wide range of frosted glass doors for every room.
Explore our Frosted Glass Doors Collection
Our custom frosted glass doors include a beautiful variety for every style and space:
- Pantry Doors
- Frosted Glass Interior Door
- Interior Doors with Frosted Glass
- Frosted Glass French Doors
- Frosted Glass Front Door
- Front Doors with Frosted Glass
- Interior Glass Doors
- Glass Barn Doors
- Frosted Glass Barn Door
- Sliding Glass Barn Door
- All Glass Doors Interior
- All Glass Front Doors
- Bathroom Doors with Frosted Glass
- Laundry Room Doors
- Wine Room Doors
If you already have a door, and only need the glass insert, we also offer:
- Frosted Glass for Interior Doors
- Door Glass Inserts for Front Doors
- Glass Panels for Pantry Doors
- Frosted Glass Inserts for Bathroom Doors
- Laundry Room Door Glass Inserts
- Glass Panels for Interior Wine Cellar Doors
Elegant Frosted Glass Throughout Your Home
While our frosted glass doors are a top choice, we also create stunning glass products for every area of your home, including:
- Frosted Glass Shower Doors
- Glass Shower Partition
- Frosted Glass Shower Panel
- Frosted Glass Showers
- Frosted Glass Windows
- Bathroom Window Frosted Glass
- Decorative Window Glass, Window Frosting
- Custom Glass Dining Table
- Custom Glass Coffee Table
- Glass Shelves, Custom Glass Shelves
- Hand Carved & Painted Mirrors
- Frosted Glass Signs, Etched Glass Signs
- Cabinet Door Glass Inserts, Frosted Glass Inserts for Cabinet Doors
- Glass Wall Art, Wall Art on Glass
Looking for Inspiration? Explore Our Galleries
Discover visual idea boards, style concepts, décor applications, real project photos, and helpful information in our expanding gallery collection:
- Custom Glass
- Custom Glass Edges
- Custom Mirror
- Decorative Glass
- Decorative Glass Doors
- Decorative Glass Front Doors
- Decorative Glass Interior Doors
- Decorative Glass Window
- Stained Glass
- Stained Glass Doors
- Stained Glass Front Doors
- Stained Glass Windows
Free Shipping. Expert Packing, Peace of Mind
With FREE SHIPPING on most orders and worldwide delivery from our studio in Palm Desert, California, every order is packed in-house by our expert glaziers using custom materials and proven methods — ensuring safe arrival with a damage rate of less than 1%!
Explore our complete frosted glass doors collection and find the perfect frosted glass door for your space. Have questions? Contact us today!
Copyright © 2025, Sans Soucie Art Glass. All rights reserved.